Effortlessly Manage Your Linux Server with Cockpit
Experience the power of a web-based system management tool that makes managing your Linux server a breeze.


Cockpit is a web-based system management tool for Linux servers. It provides an easy-to-use interface for managing and monitoring various aspects of a server, such as system resources, services, and users. With Cockpit, users can perform tasks such as starting and stopping services, managing storage and networking, and configuring firewall rules without having to use the command line. Cockpit is designed to be lightweight and easy to install, making it a useful tool for managing servers remotely or in a distributed environment.
To get started with Cockpit, you will need to install the Cockpit package on your Linux server. This can typically be done using your distribution's package manager. For example, on a system using the apt package manager (such as Debian or Ubuntu), you can use the following command to install Cockpit:
sudo apt-get update
sudo apt-get install cockpit
Note: Check the compatibility of Cockpit with your Linux distribution: Cockpit is available for a wide range of Linux distributions, but it is important to ensure that the version of Cockpit you are installing is compatible with your distribution. You can check the compatibility of Cockpit with your distribution by visiting the Cockpit website or checking the documentation for your distribution.
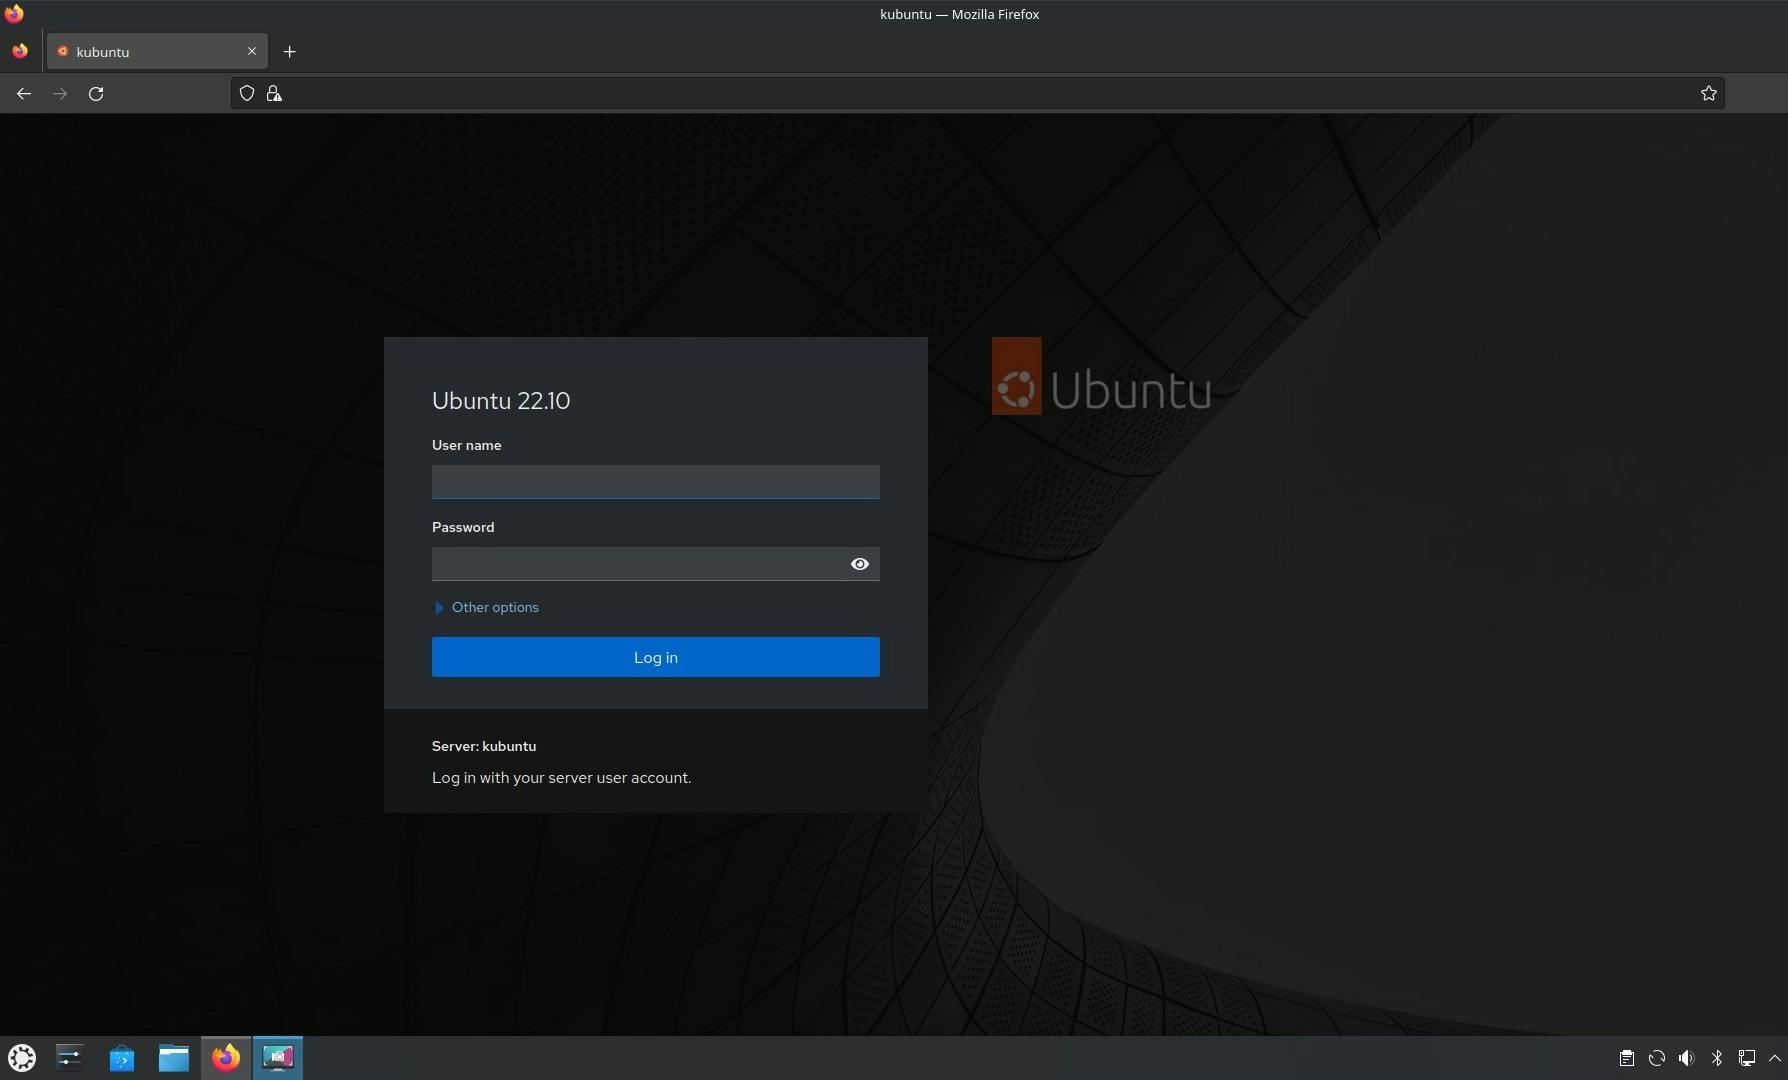
Once the Cockpit package is installed, you can access the Cockpit web interface by opening a web browser and navigating to https://your-server-ip:9090. You will be prompted to log in with your server's root user or another account with administrative privileges.
Once logged in, you will be presented with the Cockpit dashboard, which provides an overview of your server's current status and resources. From here, you can access various management and monitoring tools by clicking on the icons in the left sidebar.
If you want to enhance Cockpit's functionality, you will be happy to know that plugins are available.
Cockpit plugins are typically available as packages that can be installed using your distribution's package manager. For example, on a system using the apt package manager (such as Debian or Ubuntu), you can use the following command to install a Cockpit plugin:
sudo apt-get install cockpit-<plugin-name>
Replace <plugin-name> with the name of the plugin you want to install.
There are a variety of plugins available for Cockpit, including plugins for managing Docker containers, monitoring system logs, and managing Kubernetes clusters. You can find a list of available Cockpit plugins on the Cockpit website or by searching for Cockpit plugins in your distribution's package manager.
Once you have installed a Cockpit plugin, it will typically be available in the Cockpit web interface under the "More" menu in the left sidebar. You can then access the plugin's features by clicking on the corresponding icon.
I hope this helps to get you started with Cockpit. If you have any questions or need further assistance, don't hesitate to ask!