How to update OctoPrint to the latest version
Is it time to update your OctoPrint installation? In this guide I will provide you with step-by-step instructions on how to do just that!
OctoPrint is a great system to remotely view and manage your 3D printer. The contributors behind this free and open-source project are continuously spoiling us with new features and capabilities.
You may have received a notification telling you that the latest version of OctoPrint was now available.
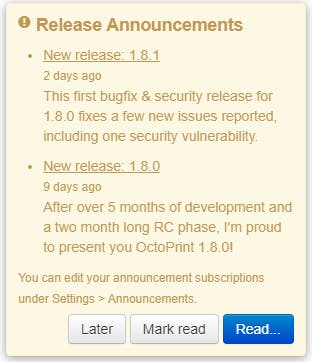
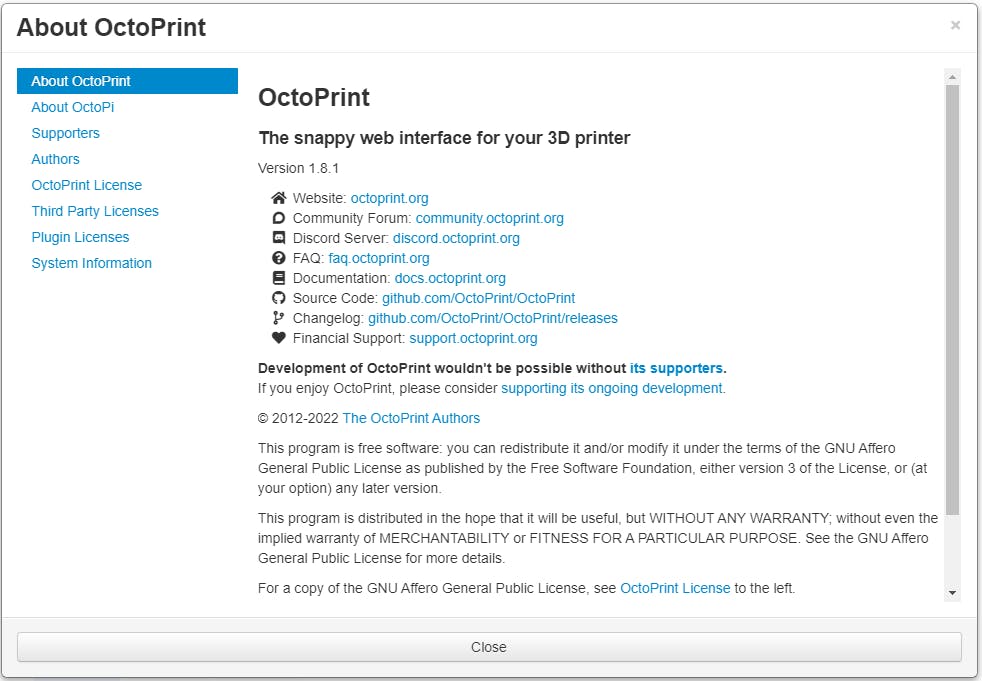
In this guide I will be updating my installation to the latest release (version 1.8.1).
Step 1: Navigate to the Octoprint settings by clicking the wrench icon located in the top, center-right of the window.
Step 2: In the left menu scroll down until you find Software Update.
You might already have a blue update button available to you besides your current installation of OctoPrint but if you don't click on Check for updates. This will refresh the list and show you the blue update button.

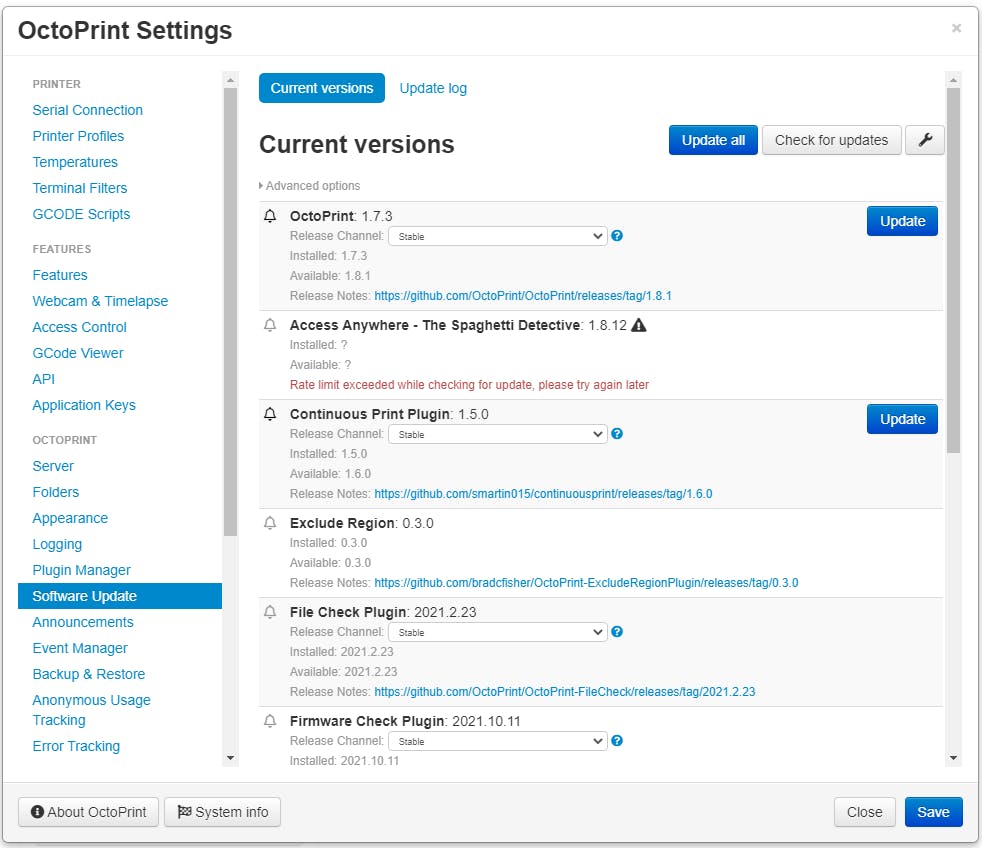
Step 3: Click the Update button!

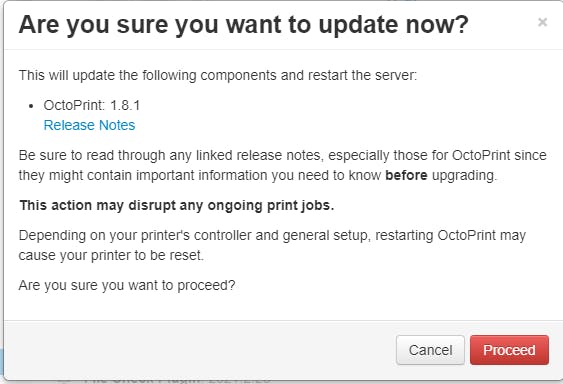
Octoprint will prompt you to confirm whether you wish to proceed. Be daring and click the red Proceed button! ;-)
Sit back and relax. OctoPrint will now do it's thing - downloading and installing all of the relevant files that are needed.
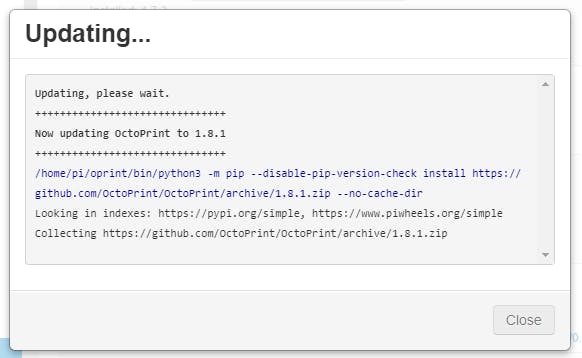
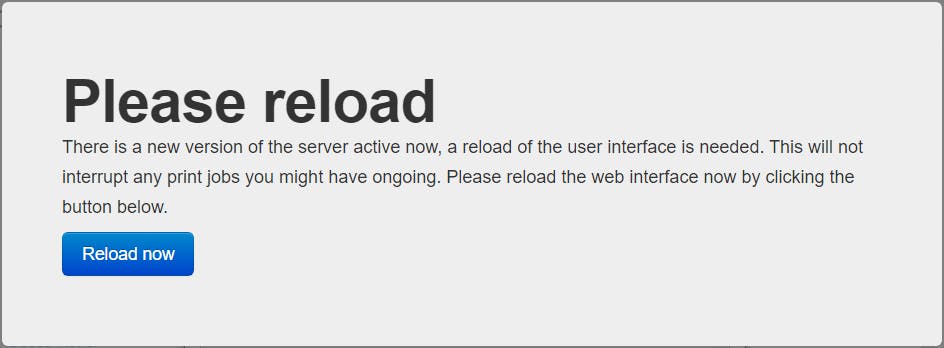
After a few minutes - if not seconds - OctoPrint will ask you to refresh the page.
Step 4: Refresh the page. But don't worry if it doesn't reload immediately. Give it a couple of minutes.
When your 'snappy web interface' (that's OctoPrint language right there!) is back it's always good practice to verify that OctoPrint has been updated.
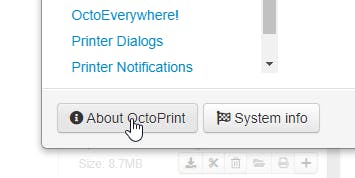
Go back into OctoPrint's settings and in the bottom-left of the window select About OctoPrint.
And that's it!
You've now successfully updated your OctoPrint installation.